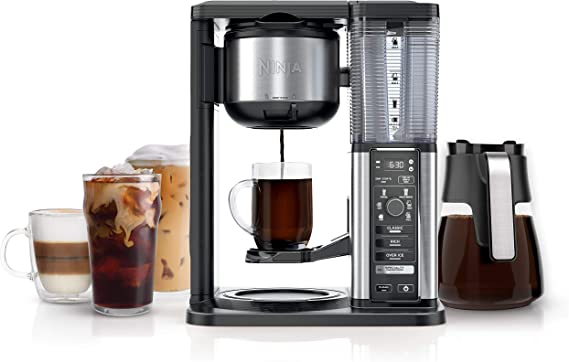
Cleaning & Maintenance of Ninja Coffee maker
A freshly brewed cup of coffee is a delightful start to any day, but ensuring that your coffee maker is clean is crucial for both the taste of your brew and the longevity of your machine. How to Clean Ninja Coffee Maker, which is known for its versatility and performance. It requires regular maintenance to continue producing exceptional coffee.
Whether you’re a coffee enthusiast or just someone who appreciates a good cup, learning how to clean Ninja coffee maker properly will not only enhance your coffee experience but also keep your appliance running smoothly.
In this article, we’ll walk you through step by step, detailing the process of regular cleaning to maintain the pristine condition of your Ninja coffee maker. By investing a little time in this maintenance routine, you’ll be rewarded with consistently great-tasting coffee and a coffee maker that stands the test of time.
Step-by-step Instructions on How to Clean Ninja Coffee Maker
Regular cleaning of your Ninja coffee maker is essential to ensure the quality of your coffee and maintain its performance. Follow these steps to keep your coffee maker in excellent condition:
Step 1: Turn Off and Unplug
Before you begin the cleaning process, prioritize safety by turning off your Ninja coffee maker and unplugging it from the power source. This prevents any accidental operations while you’re cleaning.
Step 2: Empty the Carafe and Filter Basket
Start by removing any leftover coffee from the carafe. Empty the used coffee grounds from the filter basket into the compost or trash. This prepares the coffee maker for thorough cleaning.
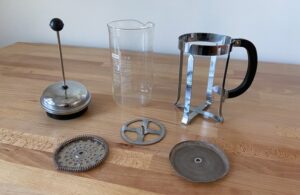
Step 3: Remove the Filter
If your coffee maker uses a permanent or paper filter, carefully remove it from the filter basket. This allows you to clean the filter separately and ensures that no residue remains in the filter basket.
Step 4: Clean the Carafe and Filter Basket
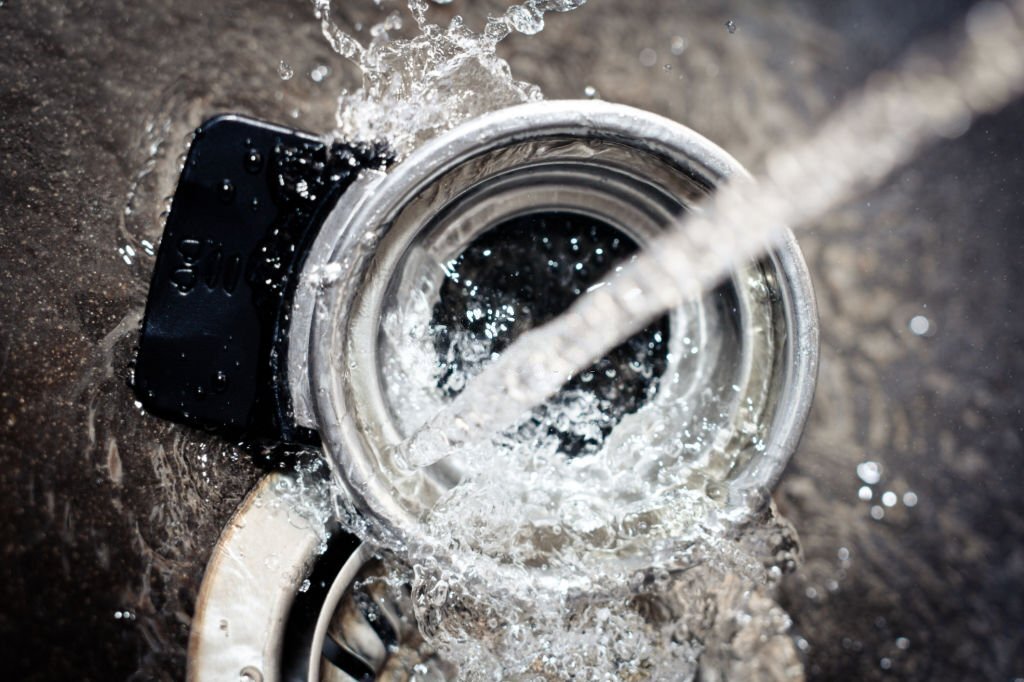
With warm, soapy water, clean the filter basket and carafe. To prevent scratching, use a non-abrasive sponge or cloth to clean them thoroughly. Pay attention to any stubborn stains or coffee residue, and ensure they are completely removed. Rinse both the carafe and filter basket under running water to eliminate any soap residue.
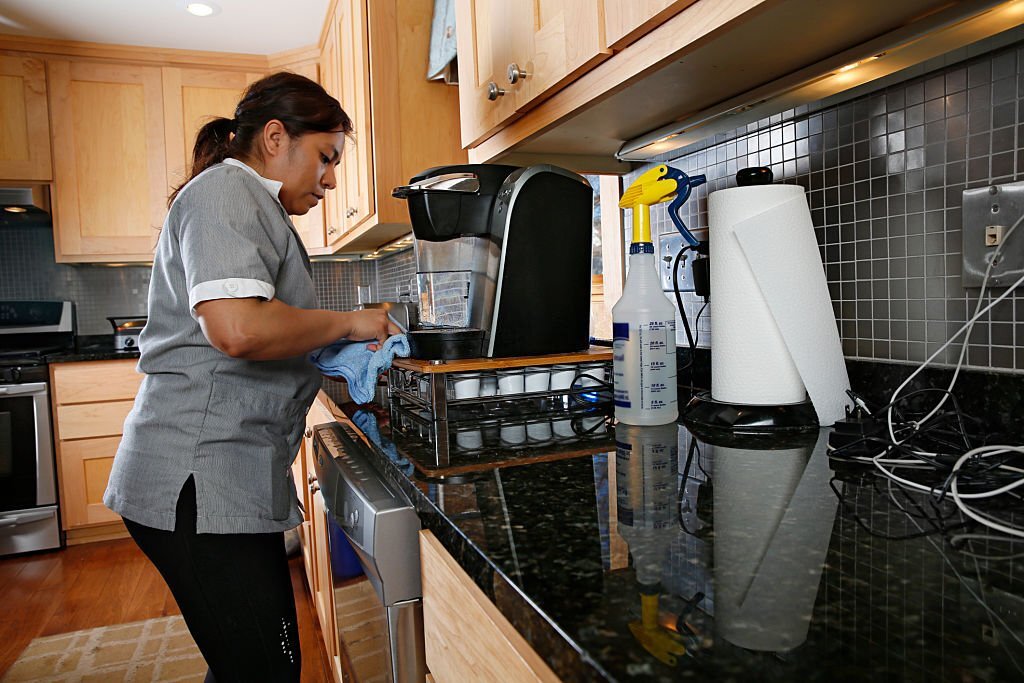
Step 5: Clean the Exterior
Using a damp cloth, wipe down the exterior of your Ninja coffee maker. Gently clean the surfaces to remove any dust, spills, or coffee splatters. Be cautious not to allow water to seep into the machine’s internal components, as this could damage the coffee maker.
Step 6: Clean the Drip Tray
If your Ninja coffee maker features a removable drip tray, take it out carefully. Clean the drip tray using soapy water to remove any coffee drips or residue. If the drip tray is not removable, gently wipe it clean with a damp cloth, ensuring it’s free from any debris.
By following these steps, you’ll ensure that your Ninja coffee maker remains clean and ready to brew delicious coffee every time. Performing regular cleaning as part of your routine maintenance will extend the life of your coffee maker and help maintain the quality of your coffee.
Keurig K-Express Coffee Maker, Single Serve K-Cup Pod Coffee Brewer, Black
- STRONG BREW:
- 3 CUP SIZES
- MULTIPLE CUP WATER RESERVOIR
- FAST & FRESH BREWED
- TRAVEL MUG FRIENDLY
- ENERGY EFFICIENT
- COMPATIBLE WITH THE MY K-CUP UNIVERSAL REUSABLE COFFEE FILTER
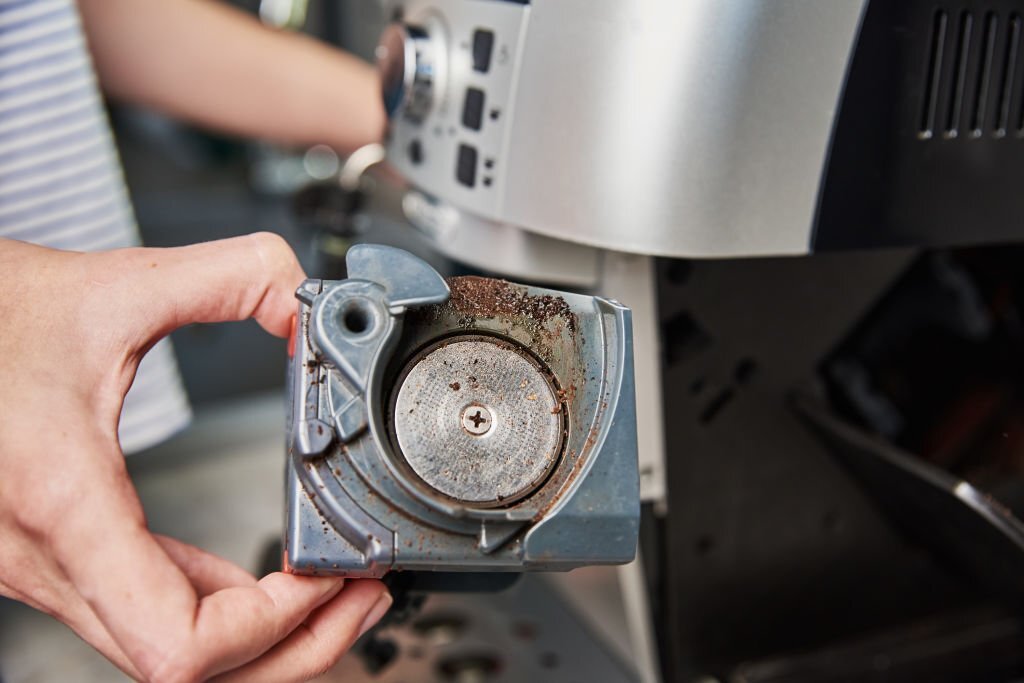
Descaling the Ninja Coffee Maker
Over time, mineral deposits, commonly referred to as scale, can accumulate inside your Ninja coffee maker’s water reservoir. These deposits can have a negative impact on the taste of your coffee and the overall performance of your machine. To ensure your coffee maker continues to brew delicious coffee, it’s important to descale it every 3 to 6 months, depending on the hardness of your water and how frequently you use the machine.
Step 1: Prepare the Descaling Solution:
- Follow Manufacturer’s Instructions: Begin by referring to your Ninja coffee maker’s user manual for specific descaling instructions. Manufacturers often provide guidelines for the appropriate descaling solution to use.
- Create the Solution: Typically, a descaling solution is made by mixing equal parts of water and white vinegar. This natural solution effectively breaks down mineral deposits. Alternatively, if the manufacturer recommends a commercial descaling solution, you can opt for that instead.
Step 2: Pour the Solution:
- Empty the Water Reservoir: Ensure that the water reservoir is empty before proceeding.
- Pour the Solution: Carefully pour the descaling solution into the water reservoir. Take care not to spill any of the solution.
Step 3: Run a Cleaning Cycle:
- Prepare for Brewing: Place an empty carafe on the coffee maker’s warming plate. Make sure there are no coffee grounds in the filter basket.
- Start the Brew Cycle: Begin a brew cycle as if you were making coffee. The descaling solution will be used in place of water.
- Partial Filling: Allow the machine to dispense some of the descaling solution into the carafe. This helps ensure that the solution cycles through the internal components.
Step 4: Pause and Soak:
- Turn Off the Coffee Maker: After a partial cycle, turn off the coffee maker and allow the descaling solution to sit in the water reservoir for approximately 30 minutes. This “soak” time is crucial as it allows the solution to dissolve and break down the mineral deposits effectively.
Step 5: Finish the Cycle:
- Resume Brewing Cycle: After the soak, resume the brew cycle. This time, let the machine complete the full brewing process, dispensing the rest of the descaling solution into the carafe.
Step 6: Rinse:
- Run Plain Water Cycles: Once the descaling cycle is complete, run several brew cycles using only plain water. This rinses out any remaining traces of the descaling solution from the internal components.
Step 7: Wash and Clean:
- Clean Removable Parts: While the water reservoir is empty, remove and wash the carafe, filter basket, and any other removable parts. Clean them thoroughly with warm, soapy water and rinse well.
- Wipe Down the Exterior: Use a damp cloth to wipe down the exterior of the coffee maker. This ensures that no residue remains on the surface.
Step 8: Reset the Clean Light (if applicable):
- Follow Manufacturer’s Instructions: If your Ninja coffee maker features a “Clean” or “Descaling” indicator light, consult your user manual for instructions on how to reset it after completing the descaling process.
By following these steps, you can effectively descale your Ninja coffee maker, removing mineral deposits that could compromise the taste and quality of your coffee. Remember that each coffee maker may have specific cleaning instructions, so always consult your user manual for the most accurate guidance. Regular descaling will not only enhance your coffee experience but also extend the lifespan of your Ninja coffee maker.
Conclusion
Knowing how to clean your Ninja coffee maker is essential for great-tasting coffee and keeping your machine working well. By regularly cleaning and descaling it, you prevent buildup and ensure top-notch performance. Following the steps we’ve discussed, from basic cleaning to descaling, helps you maintain a clean and efficient coffee maker that consistently makes delicious coffee. By practicing these steps, you’ll enjoy better coffee and keep your Ninja coffee maker in excellent shape for a long time.