Table of Contents
Hey there, fellow coffee enthusiasts and froth fanatics! Are you ready to take your coffee game to the next level? Well, you’re in for a treat because today, we’re diving deep into the world of Nespresso milk frothers and will learn How to Use a Nespresso Milk Frother . These nifty little gadgets can turn your ordinary coffee into a creamy, dreamy masterpiece. And guess what? It’s super easy, even for beginners. So, grab your favorite Nespresso machine, some milk, and let’s get frothing!
The Magic of Nespresso Milk Frothers
Before we jump into the “how-to” part, let’s talk about why Nespresso milk frothers are so awesome:

- Creamy Goodness: Nespresso frothers can whip up hot or cold milk into a creamy, velvety froth that’s perfect for lattes, cappuccinos, and more. It’s like a cozy blanket for your coffee.
- Consistency is Key: These frothers are designed to give you consistent results every time. No more guessing if your milk will froth correctly.
- Easy-Peasy: Using a Nespresso milk frother is a breeze. With just a few button presses, you’ll have frothed milk ready to elevate your coffee.
Now, let’s get down to the frothy business!
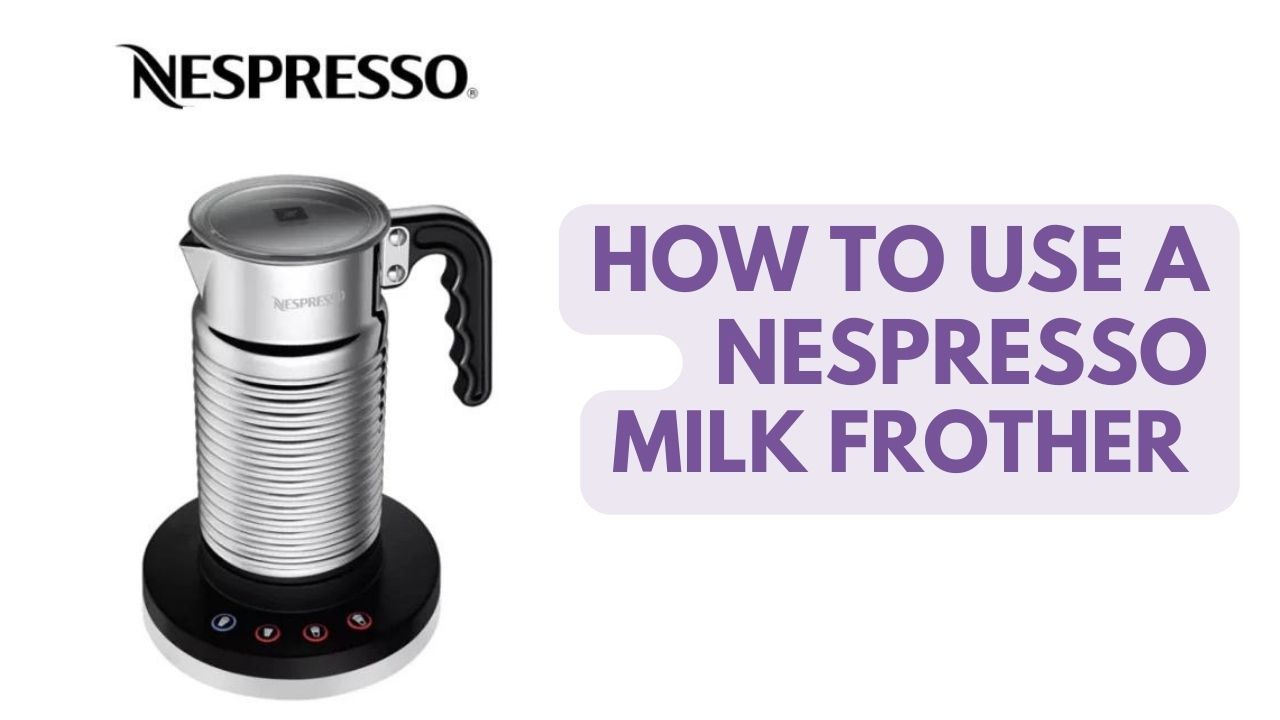
Nespresso Milk Frother: How to Use?
How to Use a Nespresso Milk Frother?
Using a Nespresso milk frother is as easy as brewing your favorite cup of coffee. Just follow these simple steps:

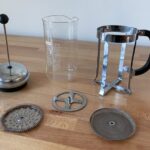
Step 1: Gather Your Tools
Here’s what you’ll need:
- Your Nespresso milk frother
- Fresh, cold milk (you can use any type of milk, from whole to almond, depending on your preference)
- A Nespresso coffee capsule or your favorite coffee
How to Use a Nespresso Milk Frother: A step-by-step Guide
Step 2: Prepare Your Milk
- First things first, make sure your Nespresso milk frother is clean and dry. Nobody wants old milk residue in their froth, right?
- Pour cold milk into the frother’s container. You’ll usually find a “MIN” and “MAX” level indicator inside. Be sure not to overfill; the milk needs space to froth up.
- If you like your froth hot, you can preheat the milk in the microwave for about 30 seconds before pouring it into the frother. It’ll save you a bit of time.
Step 3: Frothing Time
Now comes the fun part—frothing that milk to perfection:
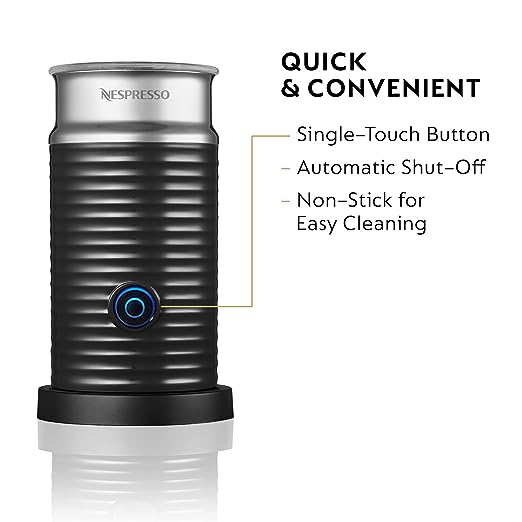
- Place the frother’s lid securely on top of the milk container.
- Depending on your Nespresso frother model, you’ll find buttons for different frothing options. Typically, you’ll have options for hot froth, cold froth, or hot milk. Choose the one that suits your drink.
- Press the corresponding button, and let the magic happen. The frother will start whirring, heating, and frothing the milk simultaneously. It usually takes around 70 to 90 seconds to complete the frothing process.
- While the frother works its magic, you can prepare your coffee. If you’re using a Nespresso machine, this is the perfect time to pop in a coffee capsule and brew your espresso.
Step 4: Enjoy Your Frothy Creation
Once the Nespresso with milk frother has finished its frothing symphony, it’s time to assemble your coffee creation:
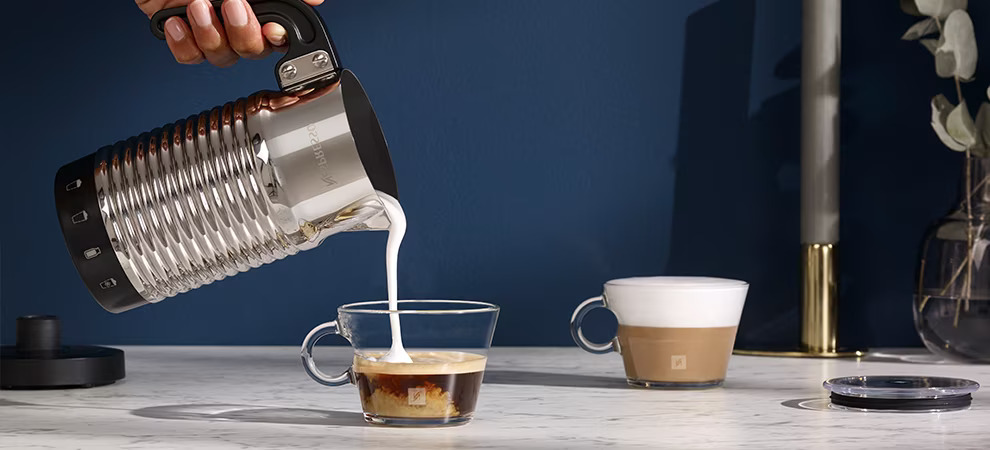
- Pour your freshly brewed espresso into your coffee cup.
- Carefully remove the frother’s lid and use a spoon to scoop out the creamy froth on top of your milk. Be gentle; you want to keep that airy texture intact.
- Slowly pour the frothed milk into your coffee cup, and watch as it swirls beautifully with the espresso.
- If you’re feeling extra fancy, you can dust a bit of cocoa powder or cinnamon on top of the froth. It’s like your very own coffee art canvas!
- Grab a comfy spot, take a sip, and revel in your homemade coffee masterpiece.
Step 5: Cleaning Up
Nobody likes a messy kitchen, right? Fortunately, cleaning your Nespresso milk frother is a breeze:
- Make sure the frother is unplugged and completely cooled down.
- Carefully remove the whisk or frothing attachment. These parts are usually removable for easy cleaning.
- Rinse the whisk and milk container with warm, soapy water. You can also place them in the dishwasher if they’re dishwasher-safe.
- Wipe down the outside of the frother with a damp cloth.
- Store your Nespresso milk frother in a dry, cool place until your next frothy adventure.
Troubleshooting Tips: Nespresso Milk Frother
Sometimes, even the best coffee enthusiasts run into a frothing hiccup. Don’t worry; we’ve got your back:
Issue 1: No Froth
- Check if you’ve filled the milk within the “MIN” and “MAX” levels. You need some room for that froth to form.
- Make sure you’re using fresh, cold milk. Milk that’s been sitting out too long won’t froth as well.
- Clean the frothing attachment. Residue can block the whisk and hinder frothing.
Issue 2: Excess Froth
- If you end up with too much froth, simply spoon off the excess before pouring the milk into your coffee.
Issue 3: Frother Not Working
- Double-check that it’s plugged in and there’s power.
- Ensure the lid is securely closed during operation.
Issue 4: Milk Sticking to the Container
- Give the milk container a gentle swirl before frothing to prevent sticking.
Issue 5: Strange Noises
- Some frothers make a bit of noise during operation. It’s usually nothing to worry about.
Best Selling Product….
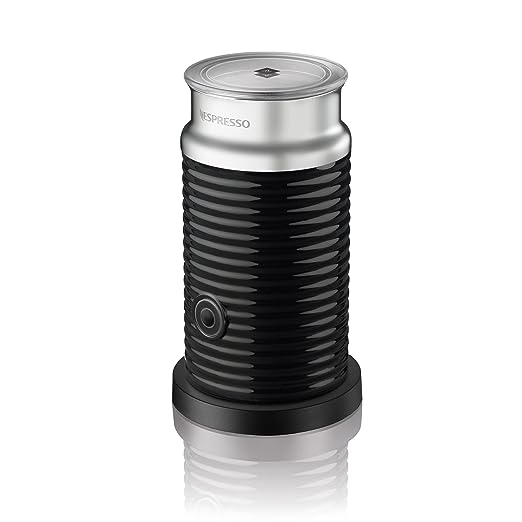
Nespresso 3694-US-BK Aeroccino3 Milk Frother, One Size, Black…
Must Read, How to Froth Milk without a Frother?
Wrapping It Up
And there you have it, a beginners guide to Nespresso milk frother How to use? With just a few simple steps, you can transform your daily coffee routine into a frothy adventure that would make any barista proud.
So, go ahead, grab your Nespresso milk frother, brew up your favorite coffee, and let the frothy fun begin. Cheers to creamy, dreamy coffee creations!
In case you want to check and learn other methods of mil frothing you can Read our detailed Guide on Milk Frothing from here, How to Use a Milk Frother: A Complete Guide for Beginners.