Table of Contents
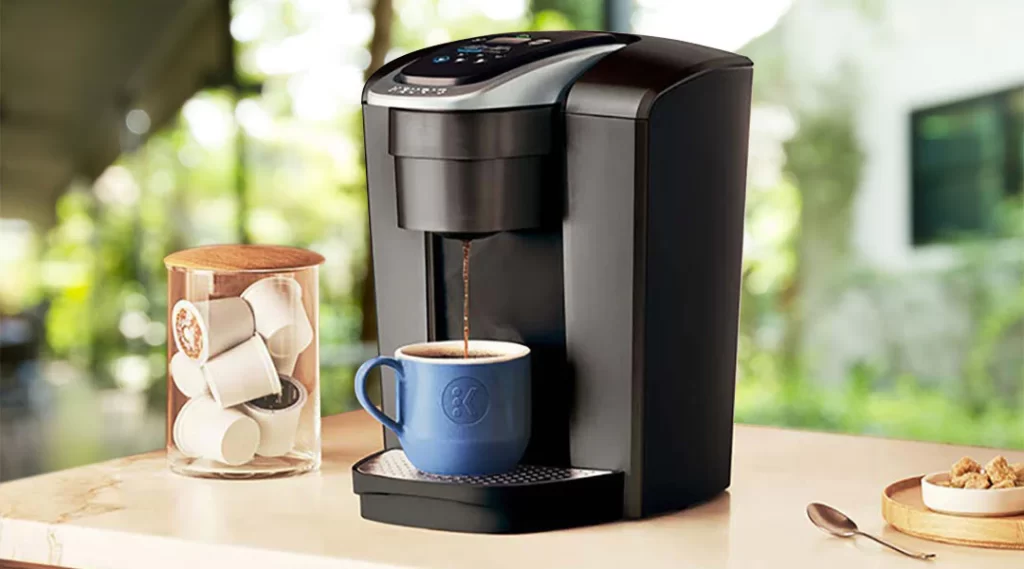
If you’re a coffee enthusiast and uses Keurig Coffee Maker for convenience and efficiency, than “How to Use Keurig Coffee Maker: A Perfect Guide” will be sure helpful to you. Designed to provide you with a hassle-free coffee experience, a Keurig coffee maker can quickly brew a single cup of coffee with just the touch of a button. In this comprehensive guide for “How to Use Keurig Coffee Maker”, we’ll walk you through the step-by-step process of using a Keurig coffee maker, ensuring that you can enjoy your favorite brew with minimal effort.
Image Courtesy: Keurig.com
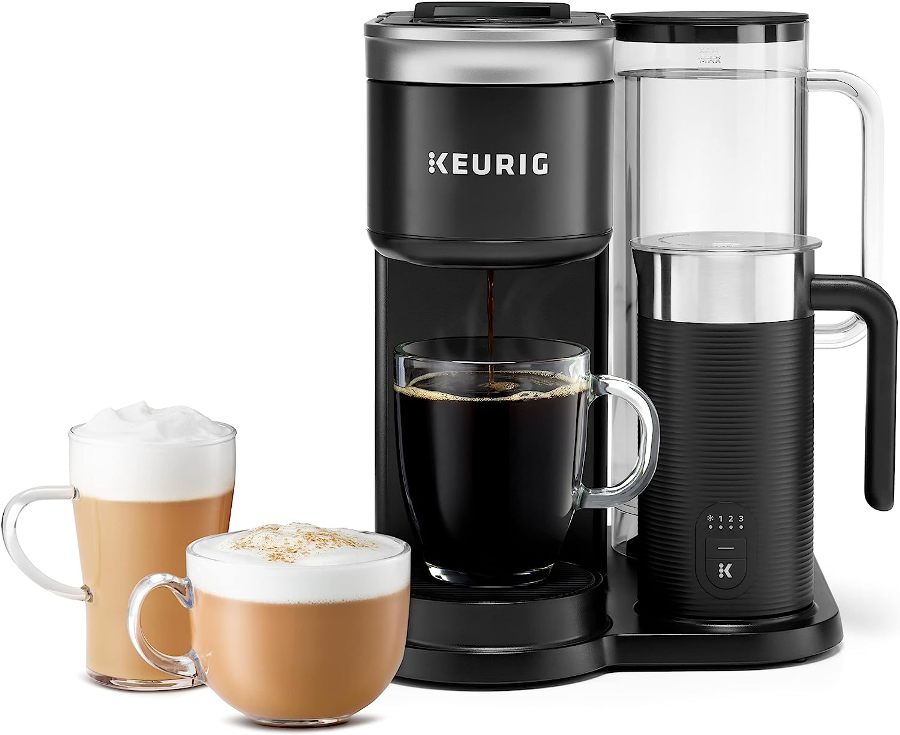
Understanding Your Keurig Coffee Maker
Before diving into the brewing process, let’s take a moment to familiarize ourselves with the main components of your Keurig coffee maker:
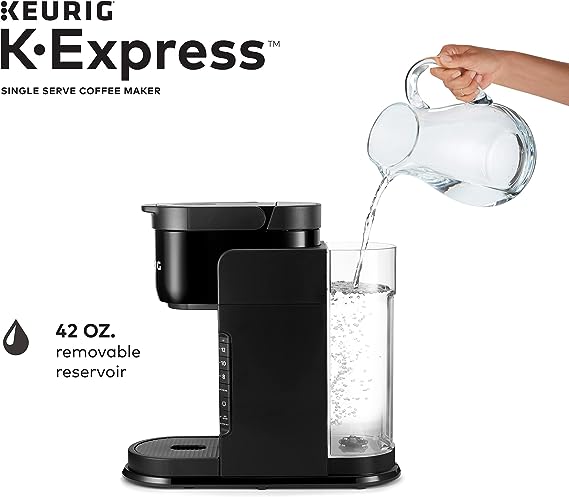
- Water Reservoir: This is where you pour water to brew your coffee. The reservoir’s capacity varies by model.
- K-Cup Holder: This is where you insert the K-Cup coffee pod for brewing.
- Brew Button: The brew button is used to initiate the brewing process.
- Drip Tray: The drip tray catches any excess coffee or water that drips during and after brewing.
- Control Panel: The control panel features buttons and indicators for various brewing options and settings.
- Power Button: The power button turns the coffee maker on and off.
Now that we’re familiar with the key components, let’s move on to the brewing process.
Step-by-Step Guide: How to Use Keurig Coffee Maker
Step 1: Setup and Preparation
- Find a suitable location for your Keurig coffee maker near an electrical outlet and a clean, flat surface.
- Fill the water reservoir with clean, cold water. Be sure not to exceed the maximum fill line indicated.
- Lift the handle to access the K-Cup holder.
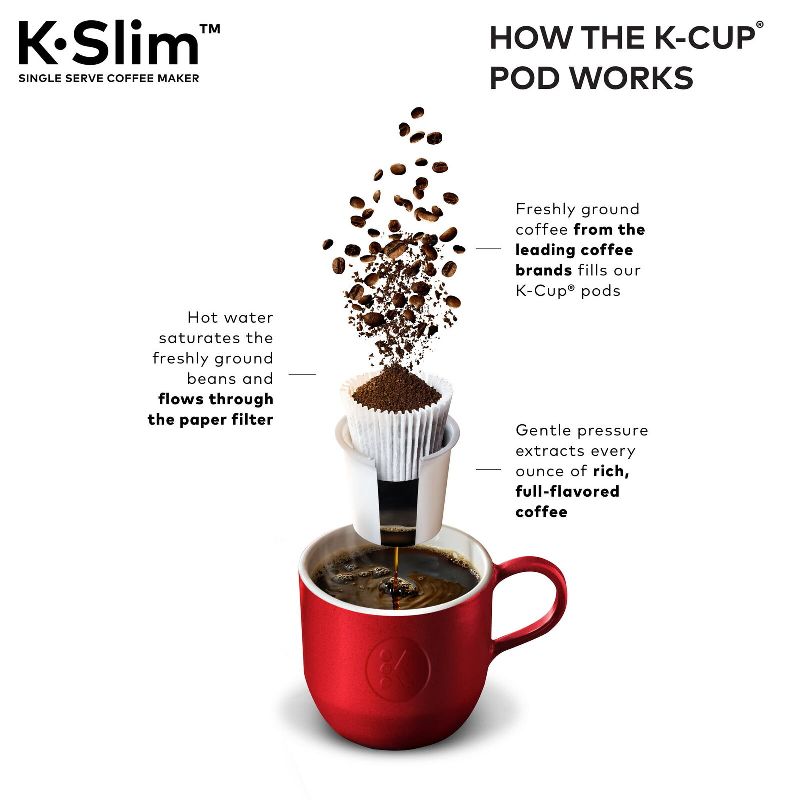
Step 2: Insert the K-Cup
- Choose your preferred K-Cup coffee pod. Keurig offers a wide variety of flavors and roasts.
- Lift the handle of the K-Cup holder to open it.
- Insert the K-Cup into the holder with the foil lid facing up. Close the handle to secure the K-Cup in place.
Step 3: Select Brew Size
- On the control panel, you’ll find buttons labeled with different cup sizes, such as “Small,” “Medium,” or “Large.” Choose the desired cup size based on your preference.
Step 4: Start Brewing
- Place a cup or mug on the drip tray under the K-Cup holder.
- Press the brew button corresponding to the cup size you selected. The coffee maker will start brewing.
Step 5: Enjoy Your Coffee
- Once the brewing process is complete, your Keurig coffee maker will stop automatically.
- Carefully remove the cup from the drip tray and enjoy your freshly brewed coffee.
Step 6: Post-Brewing Care
- Lift the handle to eject the used K-Cup. Dispose of the K-Cup appropriately.
- Empty and clean the drip tray to prevent any buildup of coffee residue.
- If your model has a removable drip tray, remove and clean it separately.
Step 7: Regular Cleaning and Maintenance
- To maintain optimal performance, descale your Keurig coffee maker periodically to remove mineral deposits. Refer to your user manual for specific descaling instructions.
- Clean the water reservoir, K-Cup holder, and drip tray regularly with warm, soapy water. Some parts may be dishwasher-safe; check your user manual for details.
Troubleshooting Tips: How to Use Keurig Coffee Maker
While Keurig coffee makers are known for their convenience and reliability, occasionally you might encounter some issues that disrupt your brewing routine. Fear not! We’ve compiled a list of common troubleshooting tips to help you navigate through any challenges you might face while using your Keurig coffee maker. Let’s troubleshoot together and get your coffee flowing smoothly again.
1. Insufficient Water Flow or Slow Brewing
- Solution: If you notice that water is dripping slowly or not at all, it could be due to mineral buildup in the needles or water lines. Follow these steps:
- Turn off and unplug your Keurig coffee maker.
- Lift the handle to expose the K-Cup holder.
- Locate the needle at the top of the holder. Use a paperclip to gently clean the needle by inserting it into the hole and moving it around.
- Check the exit needle, which is located at the bottom of the K-Cup holder. Clean it using a paperclip as well.
- Remove the water reservoir and clean it thoroughly.
- Run a water-only brew cycle without a K-Cup to flush out any remaining debris.
- Plug in your Keurig coffee maker and try brewing again.
2. Coffee Tastes Weak or Watery
- Solution: If your coffee comes out weak or watery, the coffee-to-water ratio might be off or the K-Cup isn’t being punctured properly. Here’s what you can do:
- Ensure you’re using the correct cup size button for your desired coffee strength.
- Check that the K-Cup is inserted correctly and the foil lid is facing up.
- Verify that the K-Cup holder’s exit needle is clear and not clogged.
- Consider using a smaller cup size button if you prefer a stronger brew.
3. Coffee Grounds in Your Cup
- Solution: If you find coffee grounds in your cup, it could be due to a malfunctioning K-Cup holder. Follow these steps:
- Turn off and unplug your Keurig coffee maker.
- Lift the handle and remove the K-Cup holder.
- Inspect the holder for any damage or debris that might be preventing it from closing properly.
- Clean the holder thoroughly and make sure it’s aligned correctly when you close the handle.
- Plug in your Keurig coffee maker and try brewing again.
4. “Prime” Error Message
- Solution: If you see the “Prime” error message on your Keurig coffee maker, it means the water isn’t flowing as expected. Here’s what you can do:
- Remove the water reservoir and make sure it’s filled to the appropriate level.
- Check that the water reservoir is properly seated in its place.
- If using a water filter, make sure it’s clean and correctly installed.
- Run a water-only brew cycle without a K-Cup to help prime the machine and clear any air bubbles.
5. Machine Not Powering On
- Solution: If your Keurig coffee maker isn’t turning on, consider these steps:
- Check that the coffee maker is properly plugged into an outlet.
- Make sure the power switch is in the “On” position.
- If using a programmable model, verify that the clock is set correctly.
- Unplug the coffee maker, wait a few seconds, and plug it back in to reset it.
6. Odd Tastes or Odors
- Solution: If your coffee has an unusual taste or odor, it might be due to mineral buildup, old coffee residues, or a dirty water reservoir. Here’s how to address it:
- Regularly clean the water reservoir, drip tray, and K-Cup holder as per the manufacturer’s instructions.
- Run a few water-only brew cycles without a K-Cup to flush out any lingering tastes or odors.
7. Leaking or Dripping Coffee Maker
- Solution: If your Keurig coffee maker is leaking or dripping, follow these steps:
- Check the water reservoir to ensure it’s properly seated and not overfilled.
- Inspect the K-Cup holder and exit needle for any damage or misalignment that could be causing leaks.
- Empty and clean the drip tray to prevent overflow.
- If the issue persists, contact Keurig’s customer support for further assistance.
8. “Add Water” Error Message
- Solution: If you’re encountering an “Add Water” error message even with a full reservoir, try the following:
- Remove the water reservoir and check for any debris or obstructions in the water sensor area.
- Clean the water sensor and the contact points on the reservoir.
- Make sure the reservoir’s float isn’t stuck in the down position.
By keeping these troubleshooting tips in mind, you’re well-equipped to tackle common issues that might arise while using your Keurig coffee maker. Remember that regular cleaning and maintenance can prevent many of these challenges from occurring. If you encounter persistent issues that you can’t resolve on your own, don’t hesitate to contact Keurig’s customer support for expert assistance. With a little patience and know-how, you’ll be back to enjoying your favorite cup of coffee in no time!
How to Use Keurig Coffee Maker: User Guidelines
- Experiment with K-Cup Varieties:
- Keurig offers an array of coffee, tea, and hot beverage options in K-Cup pods.
- Try different flavors and blends to discover your personal favorites.
- Hot Water Only Setting:
- Some Keurig models have a dedicated setting for dispensing hot water without brewing a K-Cup.
- Use this feature to prepare instant oatmeal, hot cocoa, or other hot beverages.
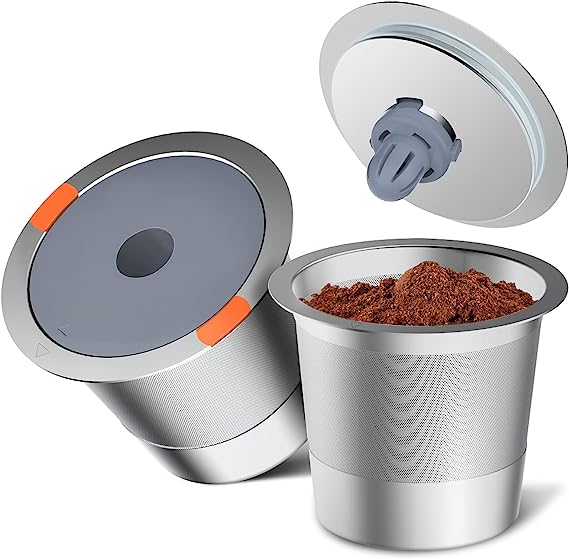
- Use Reusable K-Cup Pods:
- Reduce waste by opting for reusable K-Cup pods.
- Fill them with your own ground coffee to enjoy customized brews.
- A more eco-friendly and cost-effective option.
- Descaling Indicator:
- Certain Keurig models come equipped with a descaling indicator light.
- This light notifies you when it’s time to descale the coffee maker to remove mineral buildup.
- Refer to your user manual for detailed descaling instructions.
- Adjust Brew Strength and Temperature:
- Explore your coffee maker’s settings to adjust brew strength and temperature.
- Tailor your coffee to your preferred taste profile.
- Pre-Warm Your Mug:
- Warm your cup or mug before brewing to ensure your coffee stays hotter for longer.
- Simply run a cycle of hot water without a K-Cup, then discard the water.
- Regularly Clean the Drip Tray:
- Prevent overflow and keep your coffee maker tidy by cleaning the drip tray regularly.
- Remove and wash it to avoid any buildup.
- Clean the Needle:
- The puncture needle can become clogged with coffee grounds over time.
- Clean it gently with a paperclip to ensure proper water flow.
- Store K-Cups Properly:
- Store your K-Cups in a cool, dry place to maintain their freshness and flavor.
- Customize Brew Sizes:
- Some Keurig models allow you to choose your own brew size by adjusting water quantity.
- Experiment with different sizes to find your ideal coffee strength.
- Maintain the Water Reservoir:
- Keep the water reservoir clean and free from mineral deposits.
- Regularly empty and refill it with fresh, cold water.
- Use Fresh Water:
- Always use cold, fresh water to ensure the best coffee quality.
- Avoid using hot or previously heated water.
- Monitor Water Level:
- Check the water level in the reservoir before brewing to prevent running out of water mid-brew.
- Empty Reservoir After Brewing:
- After each use, empty the water reservoir to avoid stagnant water that can lead to off-flavors.
- Custom Brew Favorites:
- If your model offers programmable settings, create custom brew settings for your favorite K-Cup.
- Regularly Update Firmware (if applicable):
- For models with digital interfaces, ensure you’re running the latest firmware updates for optimal performance.
- Keep Coffee Maker Ventilated:
- Ensure proper ventilation around the coffee maker to prevent overheating during use.
By incorporating these additional tips into your routine, you’ll elevate your Keurig coffee maker experience and enjoy consistently flavorful cups of coffee tailored to your preferences.
Must Read, How to Use Cuisinart Coffee Maker: A Perfect Guide
Conclusion
How to Use Keurig coffee maker? actually is a straightforward process that allows you to enjoy a cup of your favorite brew quickly and effortlessly. By following the steps outlined in this guide and incorporating these additional tips, you’ll be well on your way to savoring the convenience and delightful flavors that your Keurig coffee maker brings to your daily routine. Whether it’s your morning wake-up call or an afternoon treat, your Keurig coffee maker is designed to provide you with a perfect cup of coffee at the touch of a button. Enjoy the simplicity and pleasure of brewing with your Keurig coffee maker!